


So you’re thinking about buying a gun wall display, or you’ve just bought one and need to set it up: Here’s what you can expect when installing a Hold Up Display gun wall.
Gun Wall Building Tools You’ll Need
There are a few tools that will help you assemble your Hold Up Display’s Gun Wall. These include:
-
Cordless Drill
-
4ft. Level
-
Pencil
-
Stud finder
-
Measuring tape
-
Wrench
Gun Wall Pieces You’ll Receive
Your exact parts will depend on what pre designed or custom bundle you purchase. Generally, our gun wall bundles will come with the following pieces:
-
Panels
-
Long Gun Racks
-
Handgun Racks
-
Accessories
-
2" Self-Drilling Screws
-
Screw Guide
-
Phillips Extension Bit
-
Screw Cover Strips
-
Slatwall Clips
-
Endcaps & Adhesive Squares
Once you receive your package, you’ll want to unbox the components of your gun wall bundle and separate the individual items.
Next, you’ll start installing!
Mounting Slatwall Panels
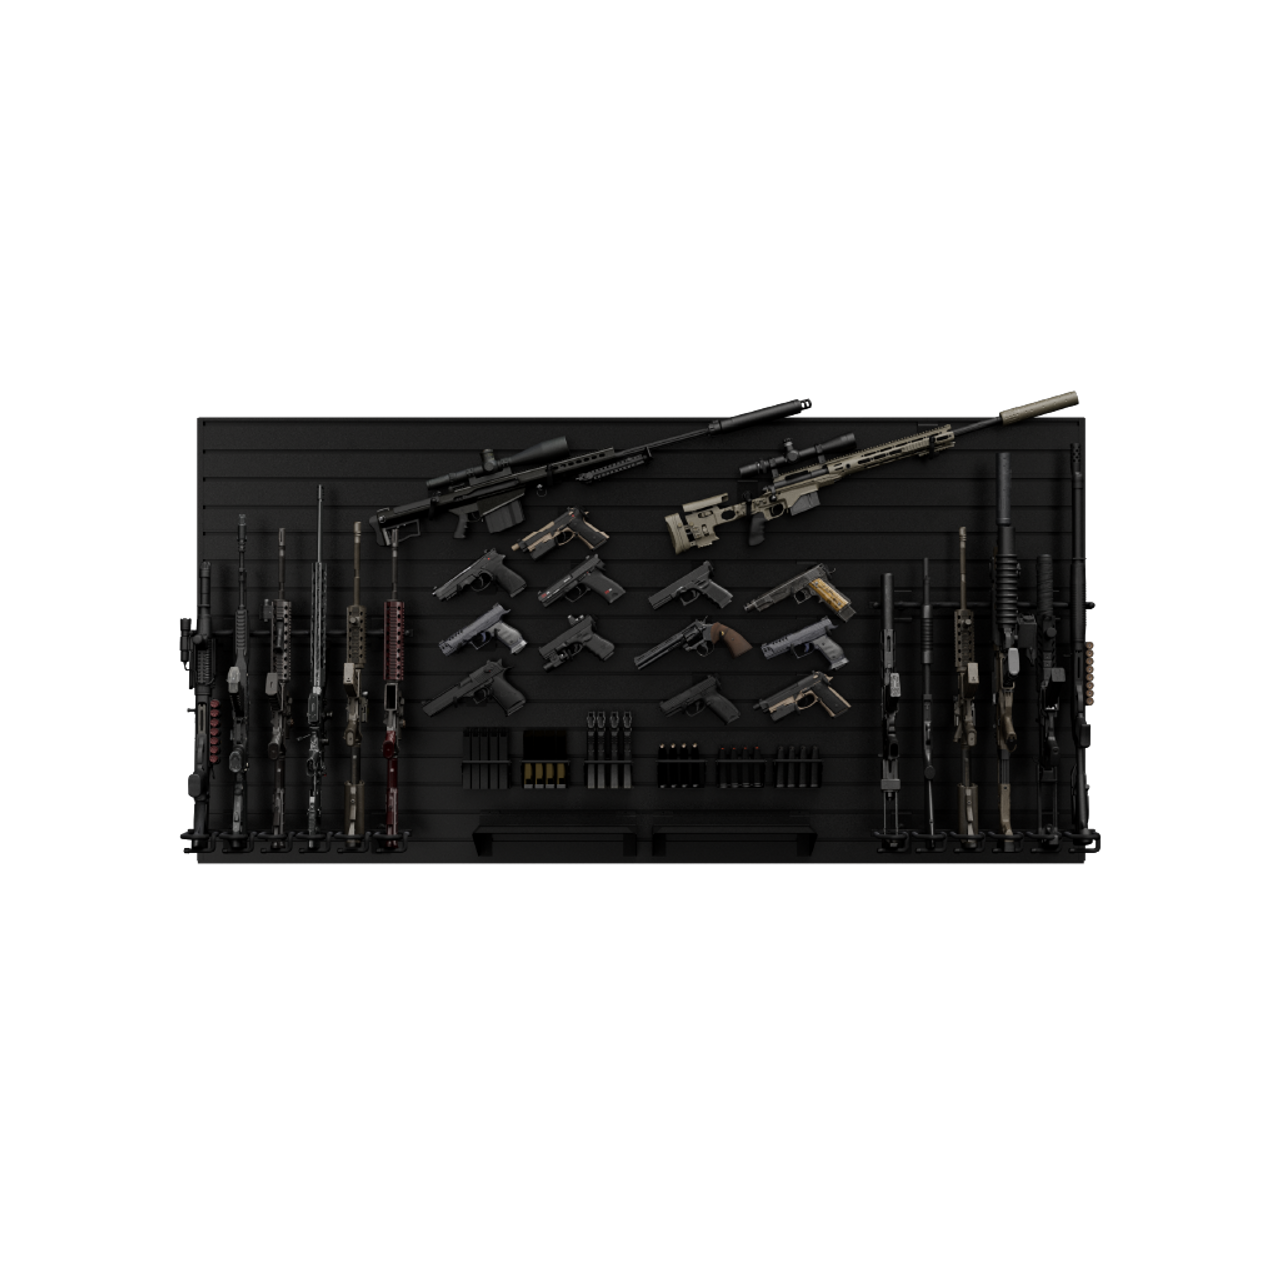
Let’s start with the slatwall. These rails are the foundation of your gun wall. Made with extruded aluminum and finished with a durable powder coating, our panels are designed to handle the weight of any firearm or a large collection. Choose from a variety of colored slatwall panels including walnut, black, camo, American flag, hardwood, and more.
When you’re installing the panels, there are a few things to keep in mind:
The top of your panel has a groove that fits into the lip of the bottom. Keep the top and bottom of your slatwall in mind while mounting — You don’t want to install your panels upside down.

Here’s where your stud finder comes in handy. You want to be sure to hit wall studs when you mount your rail. We include the attachment hardware for normal wood stud wall applications.
What if you’re looking to install your display on a concrete/block wall? Go for it, but take the following information into account before you do so: You’ll need to supply your own hardware to get the job done. It also takes more time, as you need to pre-drill the rails and concrete, and clean up the concrete dust. We generally recommend attaching studs to the concrete wall so you can use our traditional install method. We do have 1.5" self-drilling screws that can be shipped in place of the 2" screws if you mount the studs flat to the wall.

Finding Your Placement
The first big step is finding your wall placement. Before you get into the installation process, think about where on your wall you want your display to sit. You want your firearms to be within reach, but you also want to avoid any longer rifles hitting the ceiling. Each panel is 6.25” tall, but the stacking tab is absorbed each time a rail is added. Take note that the height of all your panels will add up to 6" for each panel, plus .25" for the stacking tab. For example, a wall that is 6 panels tall will be 36.25" tall once installed.
Once you know where you will be mounting your panels, take the bottom panel and hold it against the wall in its mounting location. Check to make sure it is level and draw a line along the top of the panel. Using your stud finder, find and mark the location of each stud along this line, and then draw vertical lines along each stud, extending them to the full height of the display. Double check that your vertical lines are aligned with the studs. If your wall is more than one panel wide, repeat this process for the entire length of the display.
Mounting the Panels to the Wall
When mounting your panels, begin with the bottom panel. Place it back on the wall, making sure it is level, and drive screws at each stud location in both the top and bottom channels. We provide self-drilling screws, so you do not have to pre-drill any holes. To make installation easier, we also provide a screw guide. Just place the screw into the screw guide, place the screw guide into the channel at the stud location, and drive the screw through the channel and into the stud.
Your rails will be able to stack on top of each other as the bottom lip of the top rail slides into the groove of the bottom rail. Slide the top panel in, secure it with the screws, and repeat the process until you’ve screwed in all your rails.
Once all your panels are mounted on the wall, insert the screw cover strips from the end of the channels, if accessible. Otherwise, press them into the channels with a pen or marker.

If your gun wall includes end caps, attach them to the right and left side of your gun wall using the included white adhesive squares. Place these squares along the right and left side of your gun wall, align the end cap, and firmly press the end cap against the adhesive. The adhesive bonds instantly, so be sure the end caps are aligned correctly.

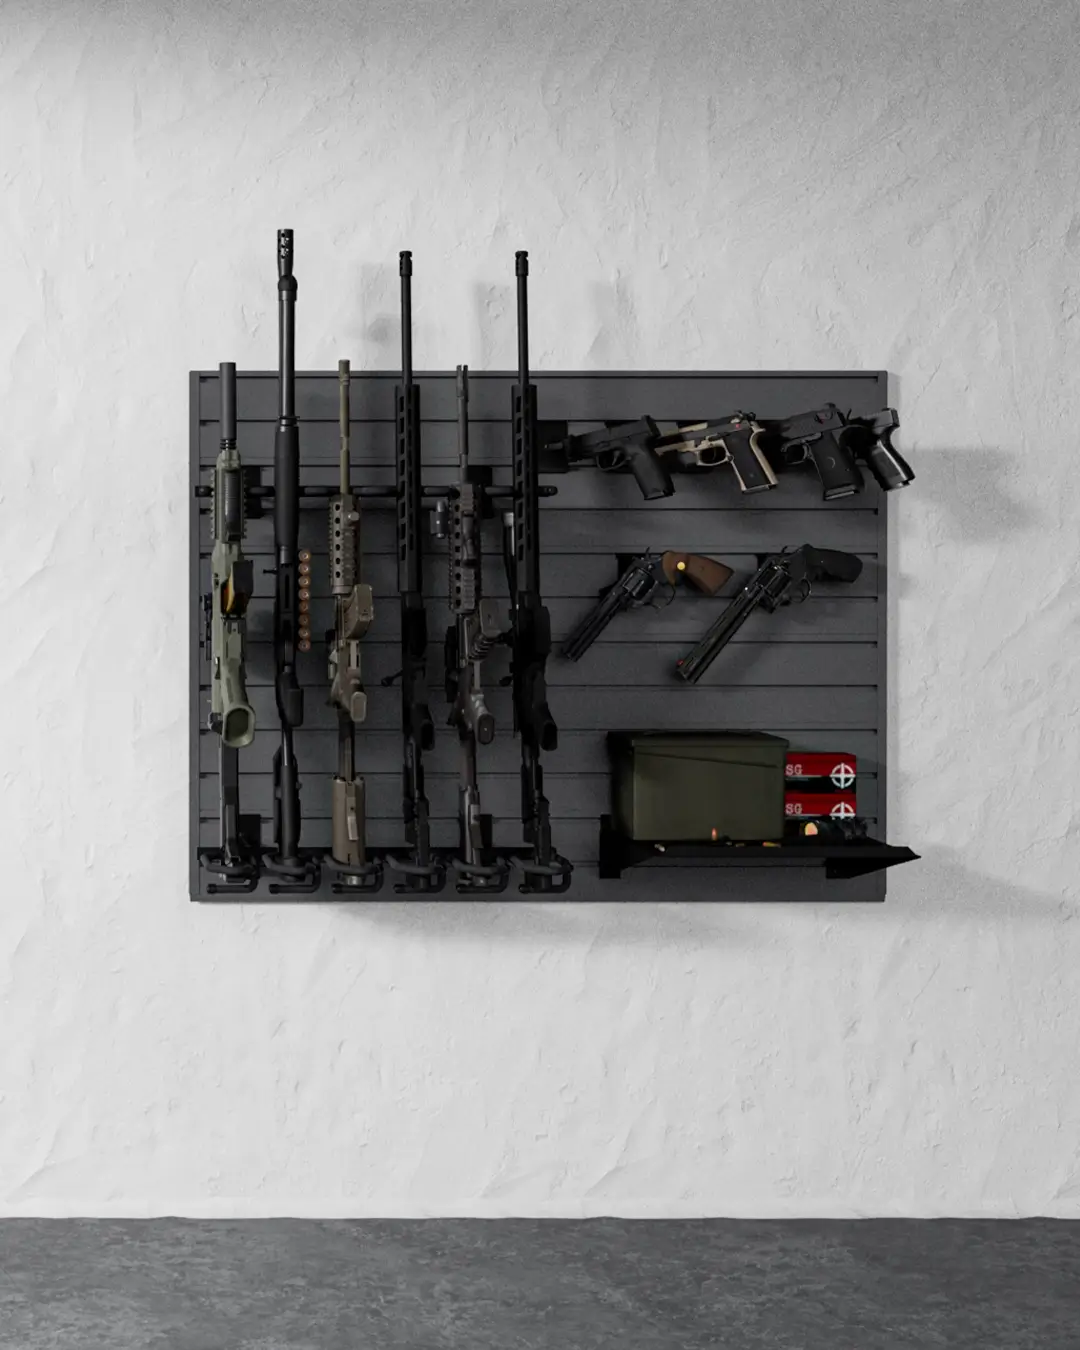
And just like that, you’ve got your strong and secure backdrop. Now it’s time to mount your favorite firearms and gun gear.
You Can Connect Your Panels Horizontally
If you’re looking to expand the width of your wall, you’re in luck. Our panels have the ability to connect side by side.


Each rail comes with a joiner piece (rectangular steel piece) to make horizontally joining two rails easier. Slide this piece into the back of the slatwall. Then, insert the other slatwall panel, pushing the panels together to touch.
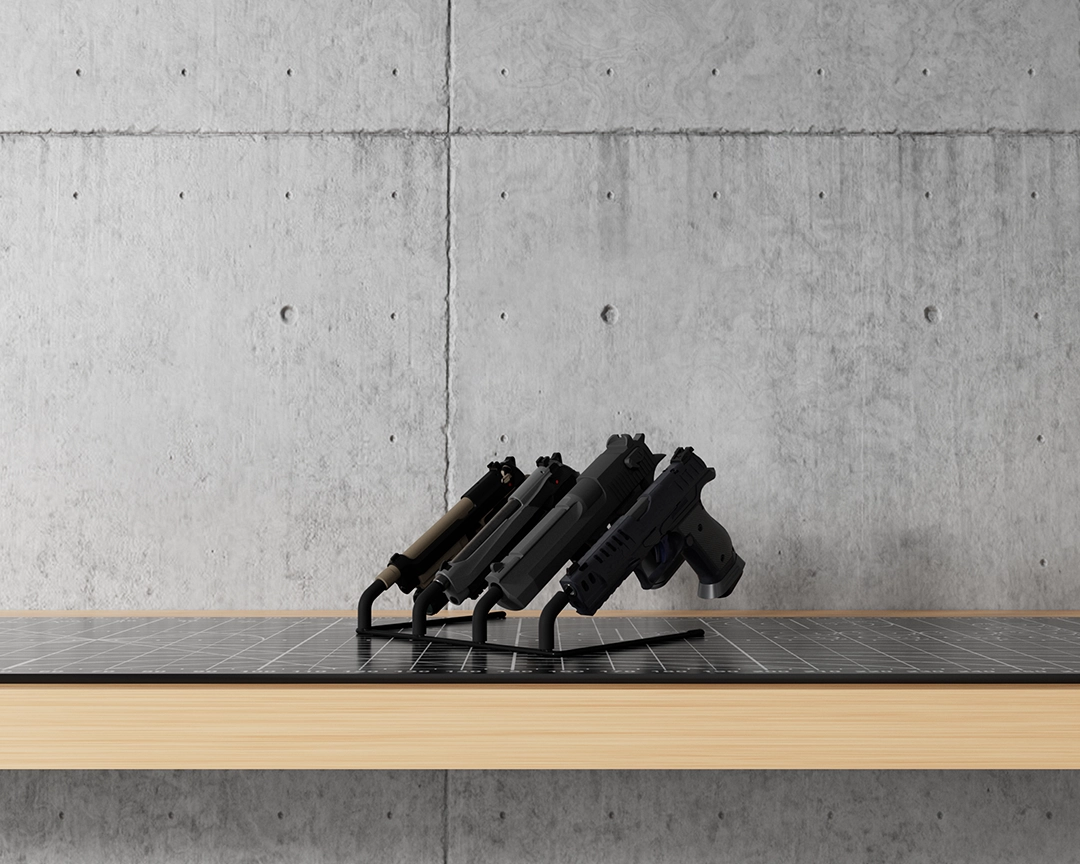
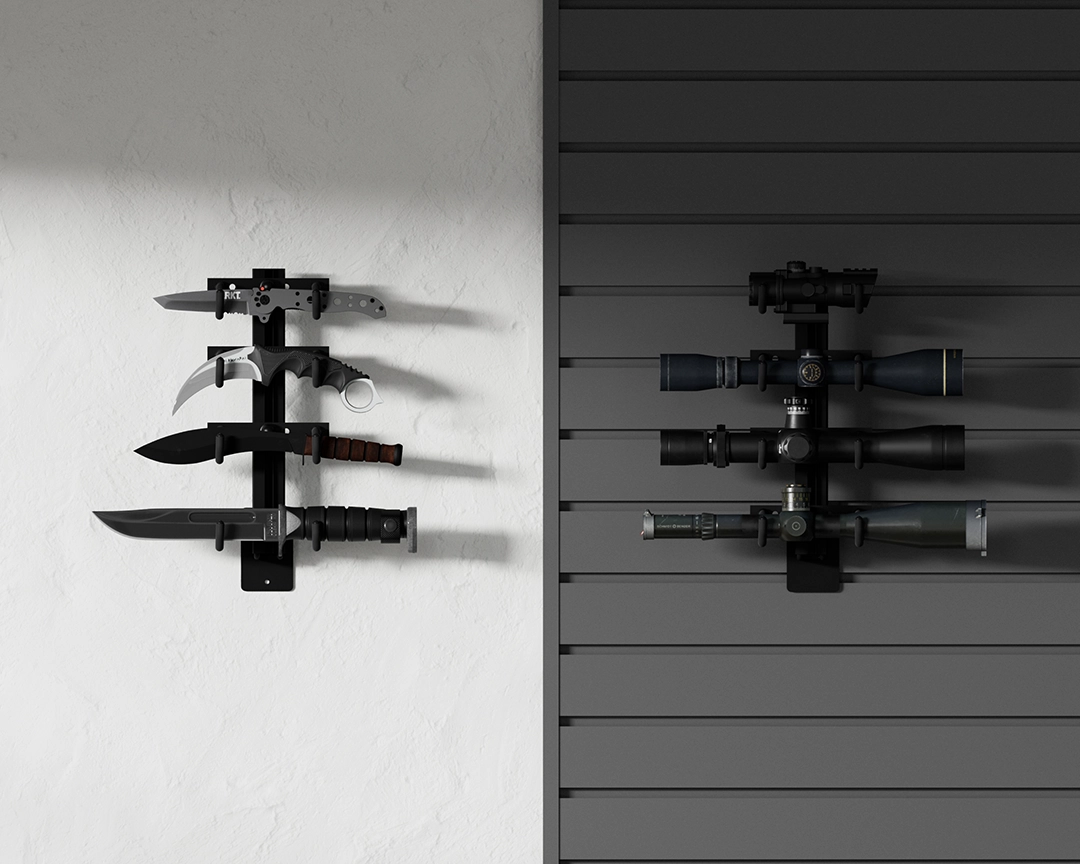
Assembling Your Gun Racks
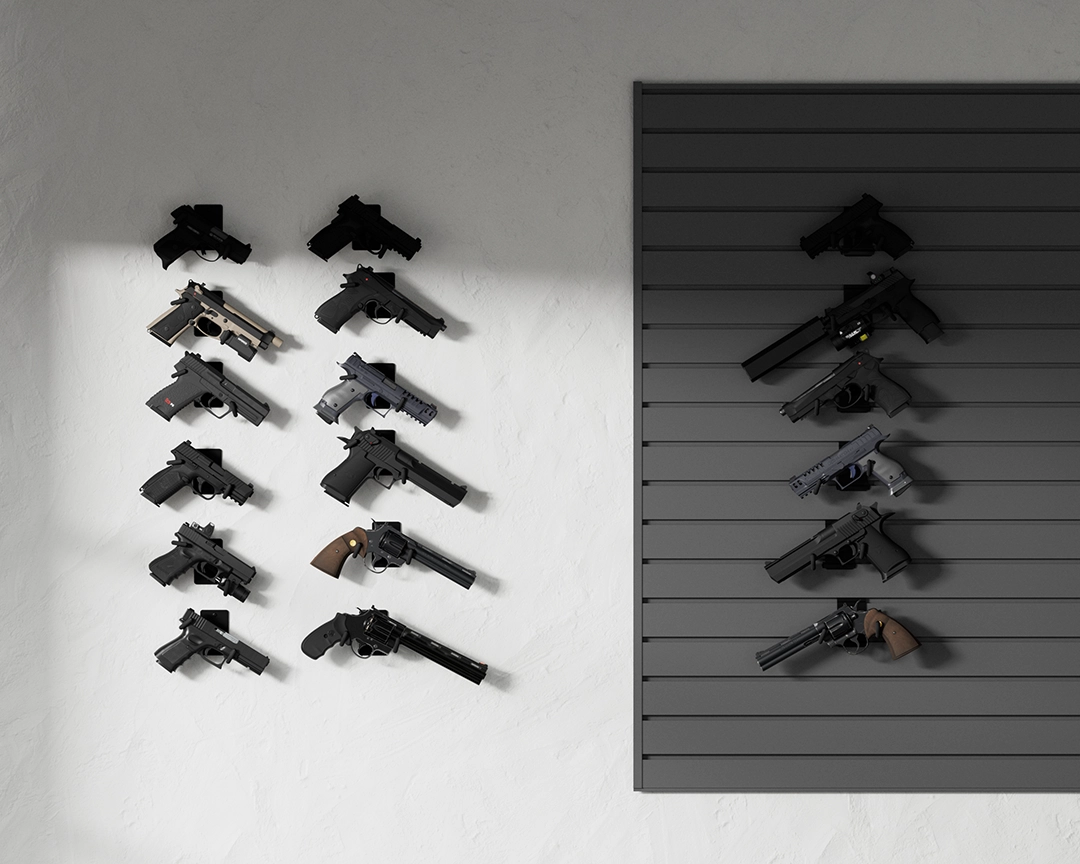
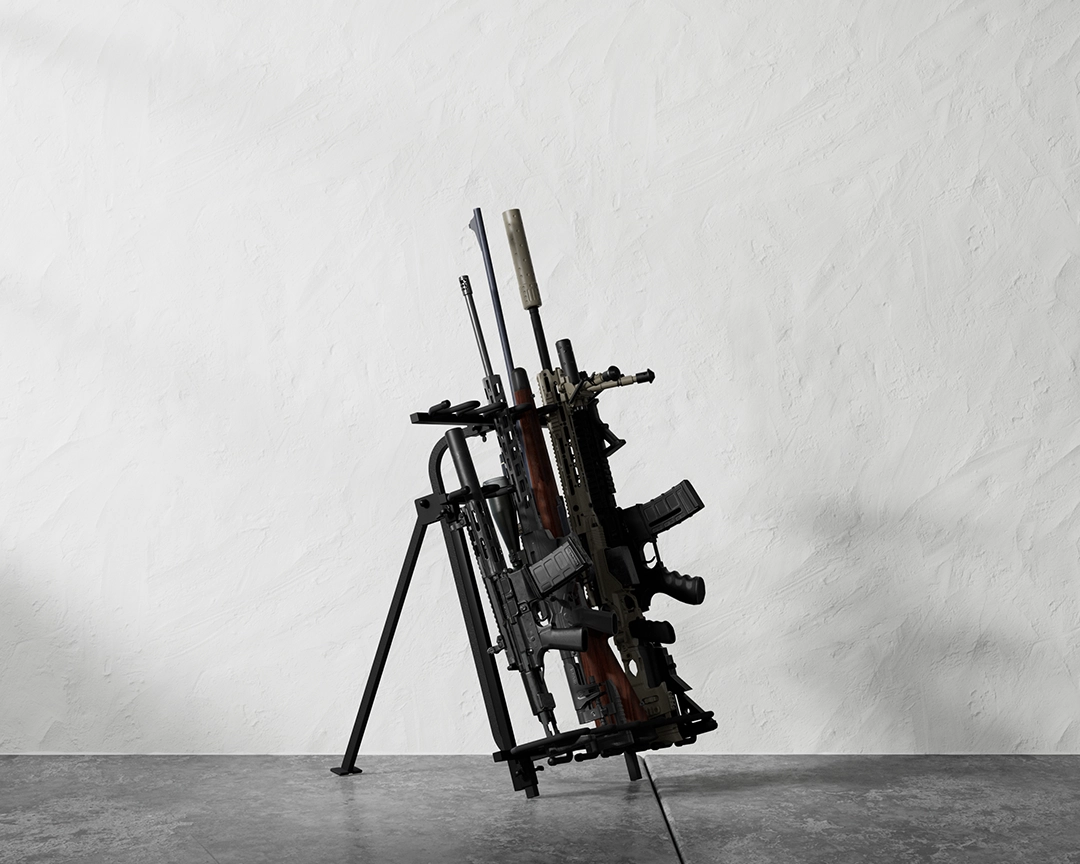
Next, you'll want to put together your long gun or handgun racks. A lot of our holders and racks come already put together, but larger mounts will arrive disassembled. Follow the specific instructions for your piece. We have a wide selection of wall mounts and racks. Your personal racks should fit your specific collection and can range from a vertical rifle rack to a handgun holder to a locking firearm display.
The assembly will generally include threading the rack to its slatwall mount and attaching the slatwall mount to a panel. And just like that, you’ve got your safe and secure storage solution to mount on your wall.
Securing Your Racks With Slatwall Clips
Some products will come with slatwall clips. These clips prevent unwanted lifting or removal of the wall mounts while in use.
Hook the clip into your slatwall system, just to the left of the hanger. Gently pull the lip open on the right edge of the clip, and slide it over the hanger plate. Make sure the lip has locked in place securely around the right edge of the plate.
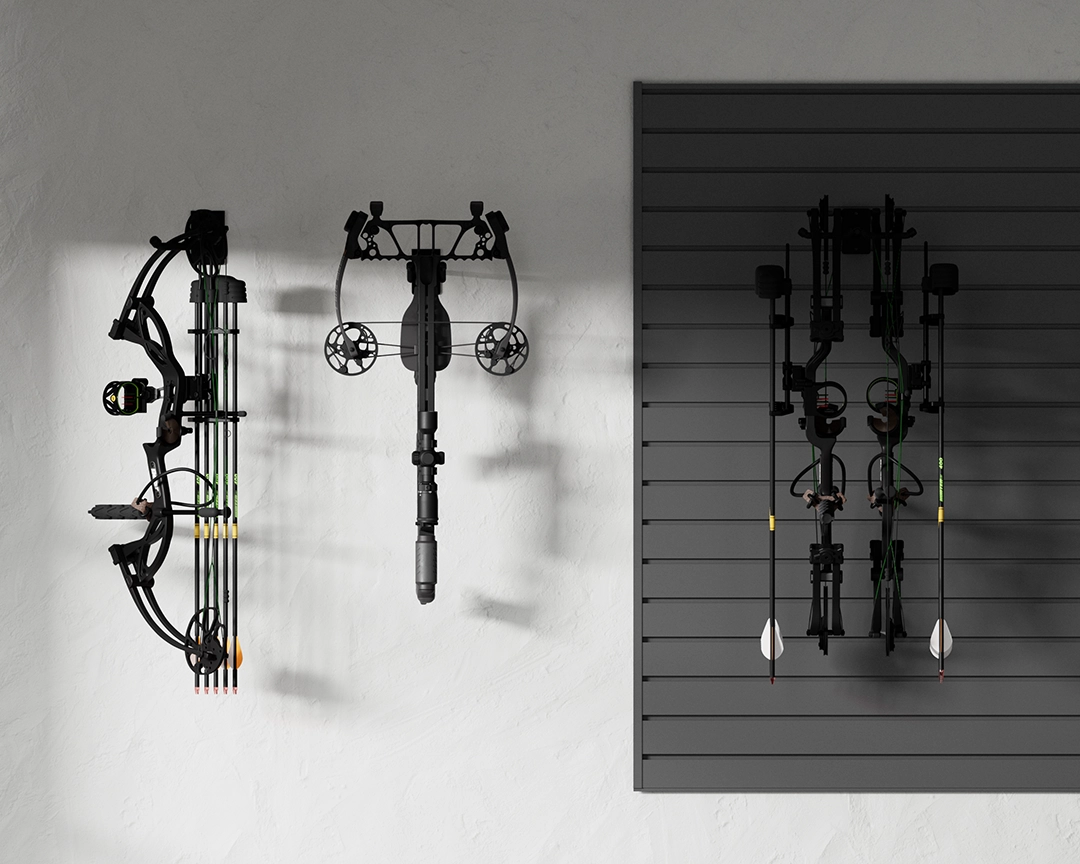
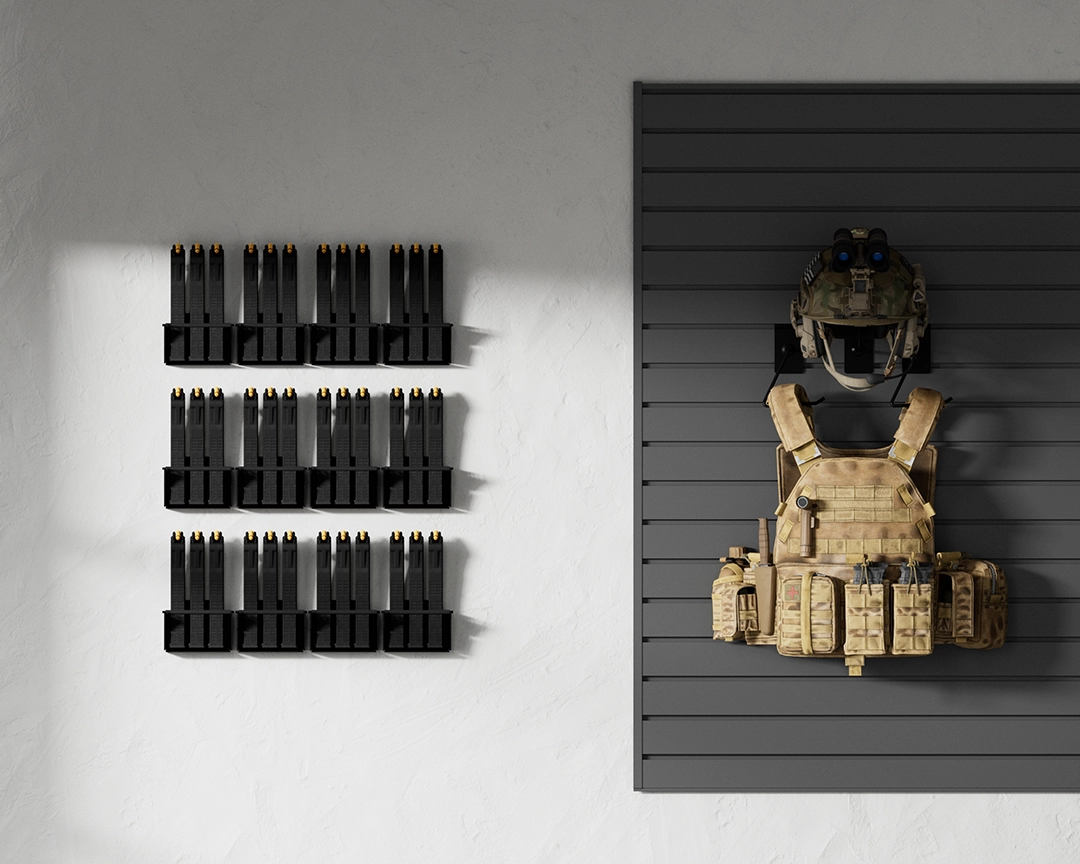
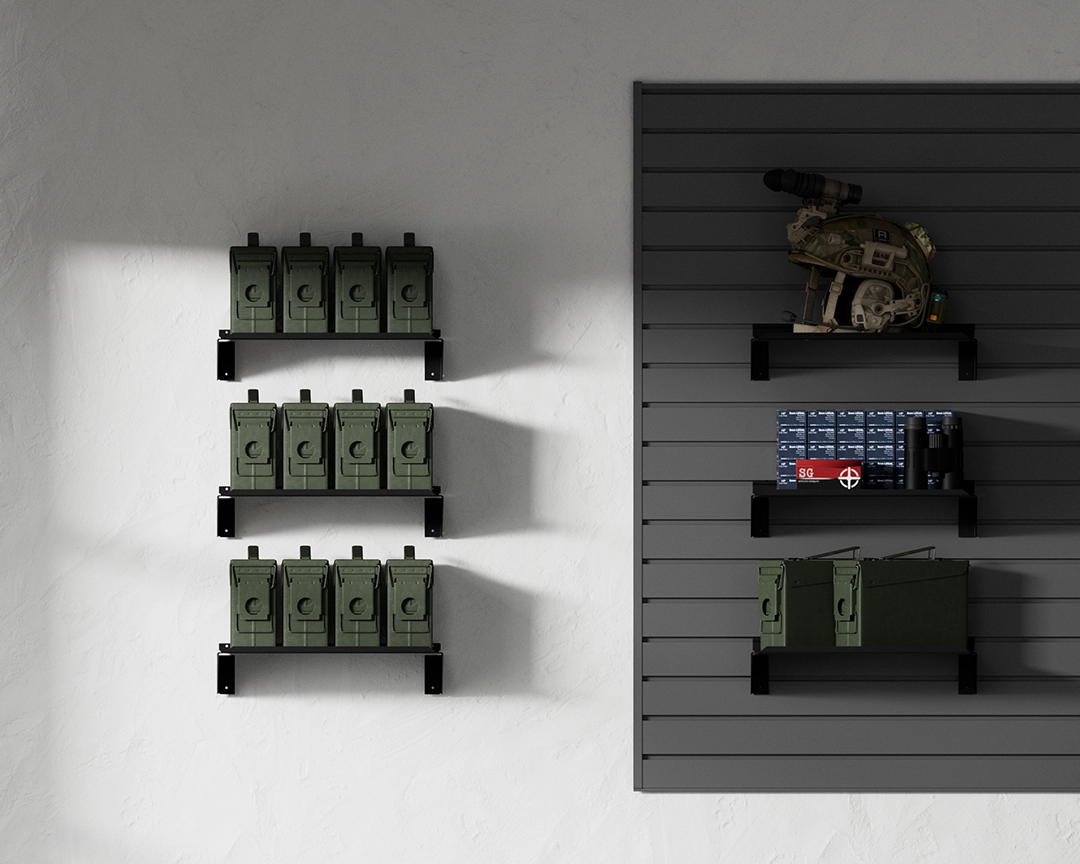
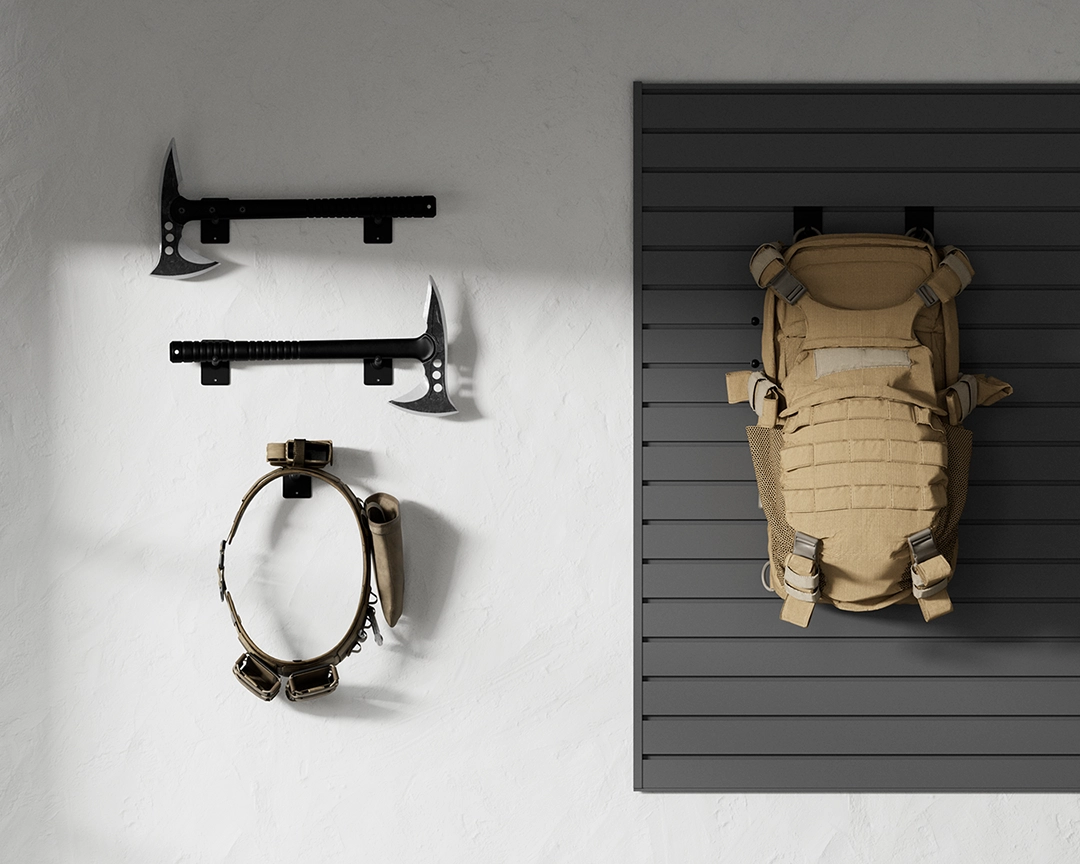
Hang Your Accessories & Gear
Hook in your gun wall accessories. Your specific accessories will depend on your bundle or custom design. Choose whatever gear you want to mount on your wall. The following are a few of our many gun wall accessories:
-
Helmet Mounts
-
Gun Magazine Holders
-
Plate Carrier Hangers
-
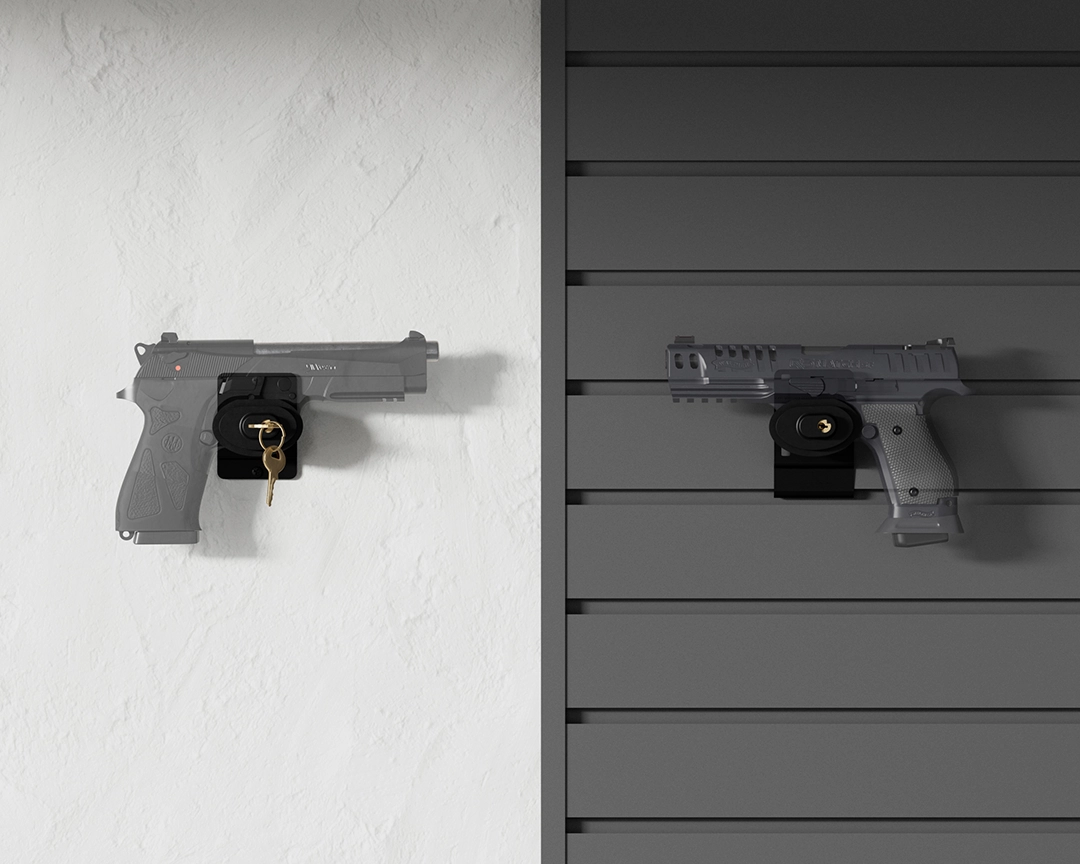
Gun Wall Locks
-
Heavy-Duty Shelves
Enjoy Your Modular Gun Display
The great part about storing your gun collection with our slatwall systems is the ability to customize and rearrange your wall based on your space and arsenal. As your collection grows, so can your wall. Our 2-foot and 4-foot slatwall panels come as individual rails that can be stacked vertically or joined end to end horizontally.
Trust Hold Up Displays to Supply The Best Gun Storage Solutions
That wraps up the general installation process of a Hold Up Displays Gun Wall. For the best gun storage solution, choose our wide selection of slatwall panels, parts, and racks that are customized to your specific firearms and gear.
The strong design and efficient parts of Hold Up Displays will be something you are proud to show off. Check out our predesigned options or start building your own gun wall today.
